Introduction:
Auto Pay Rule are the conditions required to pay an invoice automatically, these rules are attached to a Payment Profile or multiple Payment Profiles.
To view your Auto Payment Rules navigate to Payment Profiles then click the Auto Payment Rule button in the table.

Recurring Payments -> Configuration -> Payment Profiles
How the rules work
Please note these rules do not apply to customers paying invoices manually via the customer portal.
For an invoice to be processed using Auto Payment it must pass the logic tests in your Existing Rules table.
You can have either positive rules using Allow actions or negative rules using the Deny actions.
You can simulate the rules you create by using the Auto Pay Simulation Tool


- Action
An action tells the RPS tool what it should do when a rule matches. For Allow actions all the rules must match for the condition to pass and process the payment.
For Deny actions only one rule must match for the condition to pass and not process the payment. - Attribute
Attributes are the tests that can be applied to the invoice you can test based on the amount, account code of the billing line item(s) or the branding theme attached to the invoice.
Advanced Option for Account Code Matching
By default, account code Allow conditions on an Account Code attribute are ‘And’ statements which means that all of the account codes must match for the rule to pass. However, in some situations you may want to use an ‘Or’ statement, where any one of the account codes can match for the rule to pass and process the invoice. To enable this functionality, you will need to have two or more allow account code statements, and then check the Advanced option (at the bottom of the page).
Creating a New Rule
To add a new Auto Payment Rule, you need to access the default (or your own) Payment Profile first.
In the Payment Profiles area, click on the blue name of the payment profile. It will open in edit mode.
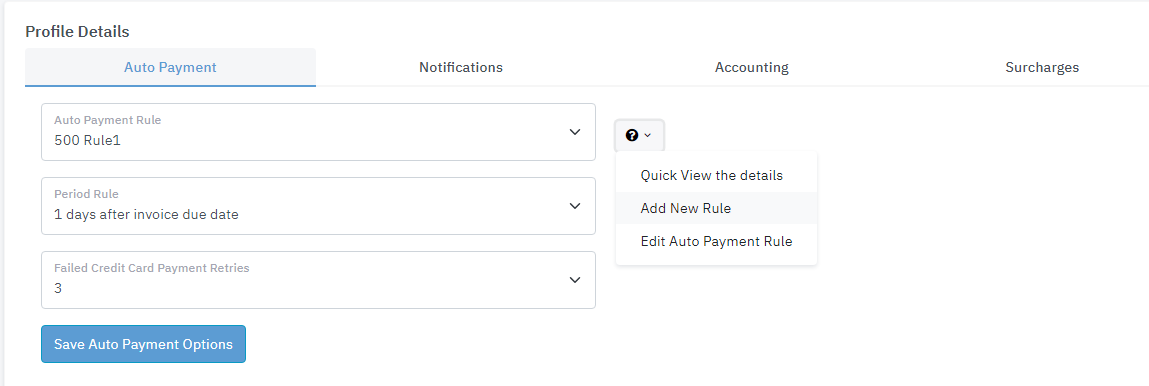
To the right of the rule down in the Auto Payment area, click on the ? question mark tooltip and choose Add New Rule. The new rule area will open.
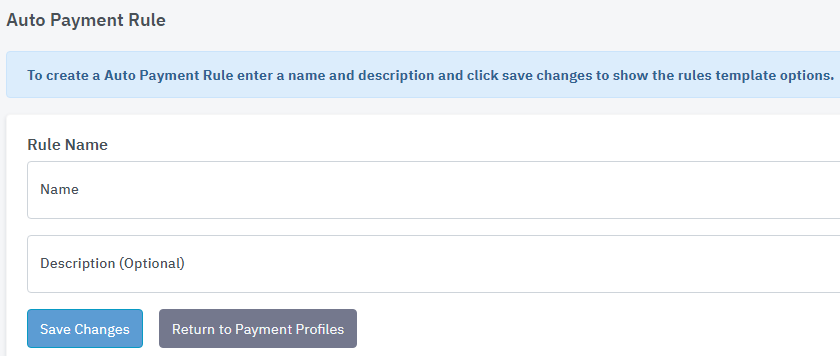
Give your rule a name, and a description. Click the blue Save Changes button. The editing area will open so you can add new rules to this template.
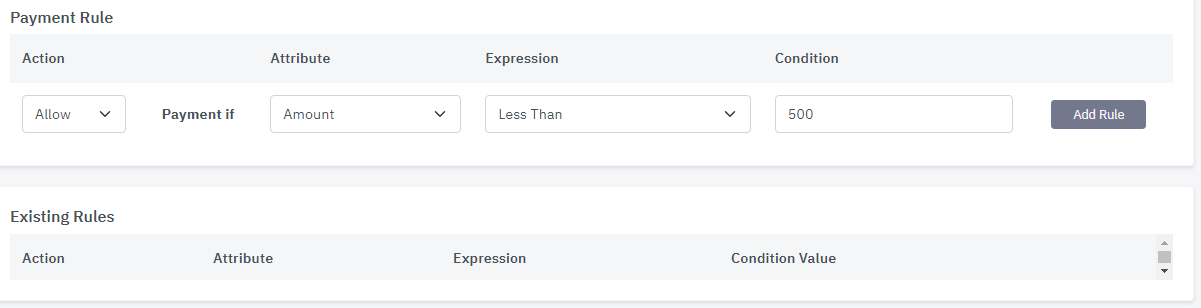
Edit your Rule (you can use the guide below or the one to the right of your screen), and click the grey Add Rule button, which will apply the rule to the template and add it into the "Existing Rules" area below.
You can add multiple rules here, however we caution you to keep it simple.
Once you have added your rules, we recommend you simulate the rules by using the Test button on the right-hand side when you create or edit the rule.
Testing your payment rules with live invoices
We recommend clicking on the green Test button on the right.

This will open the simulator. Enter in an invoice number to check that the rule is going to work.
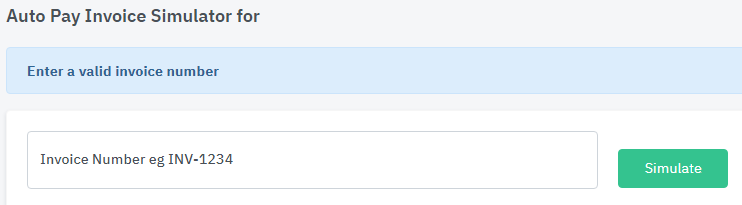
Click the Green Simulate button when you are ready to check. If the invoice passes your rule, then it is safe to add to an Automatic Payment Rule.
If the invoice Fails a rule, it is best to check through and see why. It is possible that your rule is designed to fail an invoice payment if it fails the specific requirements. In which case, we recommend trying a different invoice that does fit the requirements, and seeing if it passes.
It is possible that the rule may be conflicting with itself. If you're not sure, please seek Support and we can help guide you through this process.
Auto Pay Rules Quick Guide
Action
Options: Allow | Deny
Allow Action
Allow Action Logic = All conditions must match to pass the rule
With an allow action all conditions must pass for the rule to pass, so for example if you have an allow rule with a invoice amount condition and and account code condition both must match.
If you have multiple account code conditions all conditions must match for the rule to pass if the invoice has one billing line match but not another it will fail. In some scenarios you may want to force the rule to pass if only one of the account codes match in the invoice, please see the advanced match rule below.

Deny Action
Deny Action Logic = Will pass unless a condition match is found
With the deny action any deny condition that matches, the payment will not process. For example if you have a account code condition and a invoice amount condition if the invoice passes the amount condition but fails the account code condition it will not process the payment. If no matches are found it will pass and process the payment.
Attributes & Expressions
Options: Amount | Account Code | Branding Theme
Amount
- Less than - the total amount of the invoice including taxes is less than the conditional value
- Less than or equals to - the total amount of the invoice including taxes is less or equals to the conditional value
- Greater than - the total amount of the invoice including taxes is greater than the conditional value
- Greater than or equals to - the total amount of the invoice including taxes is greater than or equals to the conditional value
- Equals - the total amount of the invoice must match exactly the conditional value
Account Code
- In any line item contains - matches the condition from your chart of the accounts
Branding Theme
- Branding them of the invoice matches the branding them of the invoice