Connecting Cloud Depot to Xero
This article explains how to connect Xero to Cloud Depot using Xero oAuth 2.0 authorization
Please review the headings below that match what you would like to complete today.
1. New Connection To Xero
2. Reconnect Existing Connection
3. Change/ Replace the Xero Organization that is connected
1. New Connection To Xero
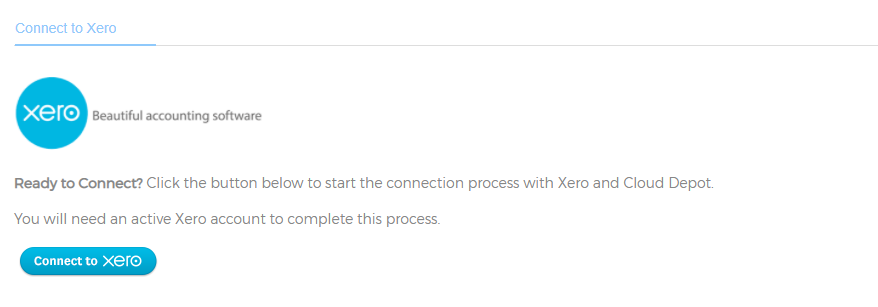
1. Navigate to Xero under the Plugins menu and choose Connection Settings. Select the Connect to Xero button.
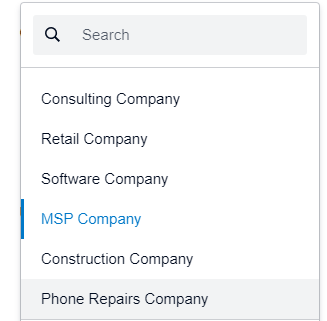
From the dropdown list provided by Xero (if you have more than one Xero Organization) select the Organization that you wish to connect to Cloud Depot
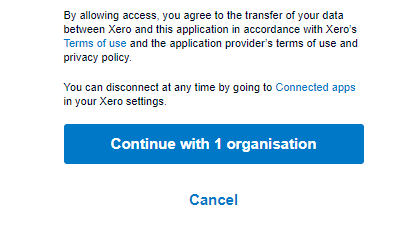
Then select the Allow access button


2. Reconnect existing Connection
Reconnecting to Xero if your connection between Cloud Depot and Xero has been broken.
1. Please log into Cloud Depot if you haven’t done so already. Then navigate to the Xero menu item under the Plugins heading and click Connection Settings.
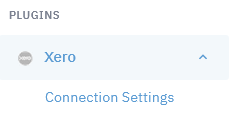
2. Click the Reconnect to Xero button to begin the connection using oAuth 2.0

3. Select the drop down and ensure your company is included in the already connected section at the bottom of the list.
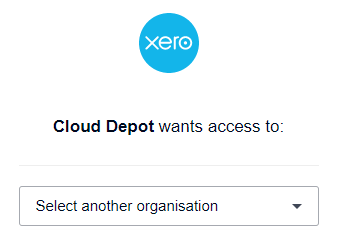

Then select Continue with [x] organisation[s] button
3. Change / Replace the Xero Organization that is connected
1. First revoke access to the Xero Organization you wish to remove access to in Cloud Depot.
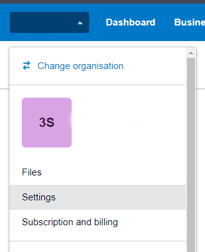
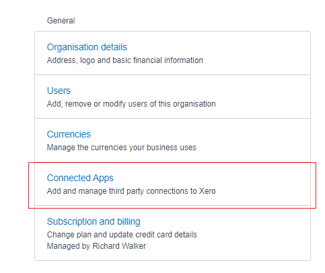
a) Log into Xero, then navigate to Settings -> Connected Apps. Then locate the Cloud Depot app and disconnect it.

2. In Cloud Depot, navigate to Plugins -> Xero -> Connection Settings

3. Follow the instructions under heading 1. New Connection To Xero in this document.