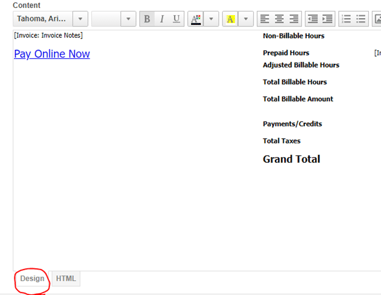
Autotask pay online button for PDF invoices and email templates
This article explains how to setup a payment link in the Autotask PDF invoice. Before you begin please ensure that Cloud Depot RPS is setup.
Recurring Payments -> Configuration -> Customer Portal -> Autotask Payment Details Tab
Caution: Ensure you select the correct HTML as PDF links have a different code compared to email HTML. Be mindful when making your choice.
With RPS, you can effortlessly add payment buttons to the PDF invoices and email templates sent to your customers. Below, we provide an example using a custom HTML template. If you would like to receive a copy of this template, please reach out to our support team; it is available "as is" at no cost.
 |
You have two options of display in your PDF and email templates you can use hyperlinks or you can use button links, the choice is yours as to what you want to display.
In this example we are going to use hyperlinks
1. Copy the entire text (control-a) of HTML in the box into a notepad

2. Log into Autotask and navigate to the Invoice Template section
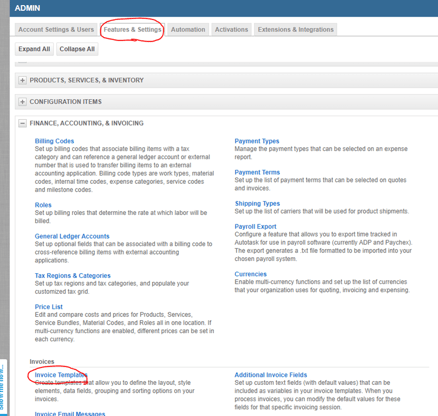
3. Find the template that you wish to install the template link into
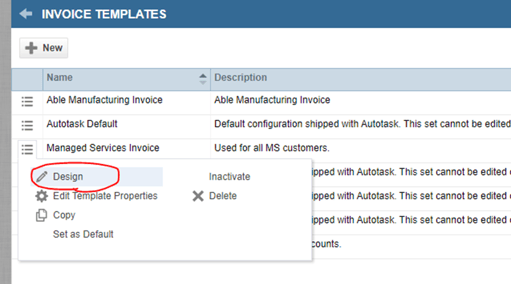
4. Find the section inside the invoice template that says "Bottom of Invoice" then click the edit link

5. Locate on the invoice where you would like the link to sit. In our example we will put the link under the Invoice Notes section.
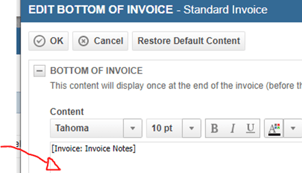
6. Once you have found a spot for your invoice link type a exclamation mark ("!!!!!!") a number of times, this will be used as a placeholder so we can locate it in the HTML code.
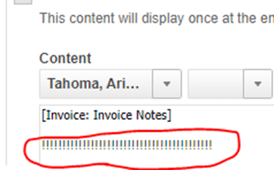
7. Click the HTML tab to display the raw html, be careful only to edit the are where the exclamation marks where printed ("!!!!!!!!").
Now copy the entire HTML code from your notepad document, highlight the exclamation marks and paste to replace the exclamation marks ("!!!!!!!")


If you feel comfortable formatting HTML, you can edit the HTML to adjust the spacing to make it look nicer, but it will make no difference to the outcome.
8. Click the Design window again to view the link, if you are happy with the output save the template.
