Scenario:
Customer has given you permission to bill your monthly services to her credit card but she said that any other invoices she wants to pay manually.
1. Create an account code.
In your accounting package, create an account type for your monthly service that you will apply to your monthly invoices. In this example we have created account code 203 and called it Managed Services.
You might already have this setup but for the purpose of this example we will setup a new one.
(Example below is from Xero.)

We have created an invoice with two managed services that we will bill to the customer.

2. Re-sync Cloud Depot RPS with your Accounting Package
Recurring Payments - > Configuration -> Accounting & Sync
Please see this article for further information on how to resync your account codes
3. Setup Auto Payment Template Rules
Recurring Payments - > Configuration -> Payment Profiles
Under the left hand Recurring Payments menu, choose Configuration and then navigate down to Payment Profiles, which is under the Payment Setup heading. Click on the grey Configure button.
Click on the blue Create new Payment Rule button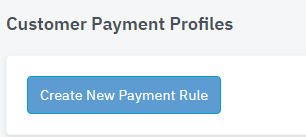
Give your profile a name and a description then click Save Changes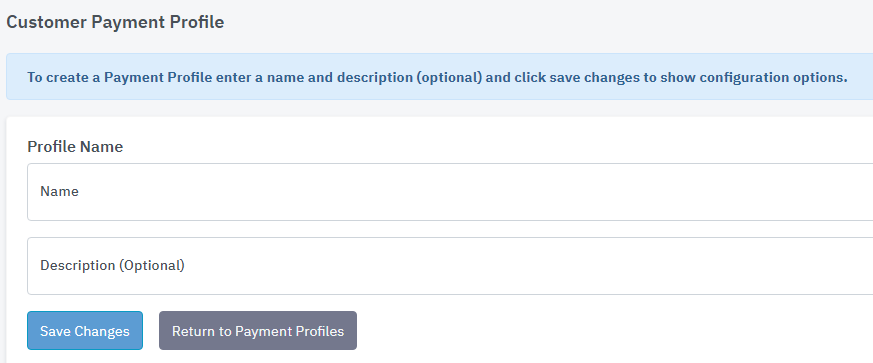
Upon clicking Save, a new area will open below allowing you to fill out the parameters for your rule.
You can choose an existing Auto Payment Rule, or create your own by clicking on the little tooltip to the right and choosing Add New Rule.
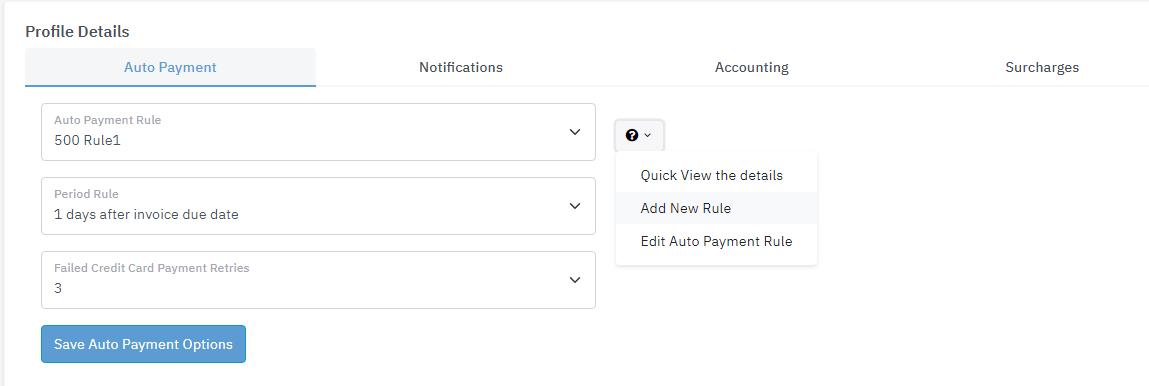
You will have to give your new rule a name and a description. Click the blue Save Changes button when done. You can then create the parameters for your rule:

- Action = Allow
- Attribute = Account Code
- Condition = Managed Services (202)
Click Add Rule to add the rule.
4. Edit Your Payment Rule
You will now need to go back to your Payment Profile to edit it and select the new rule for that profile.
Go back to Configuration -> Payment Profiles and click on the name of the first profile you created "Managed Services".
You can now choose the payment rule you created as above, and edit the profile details:
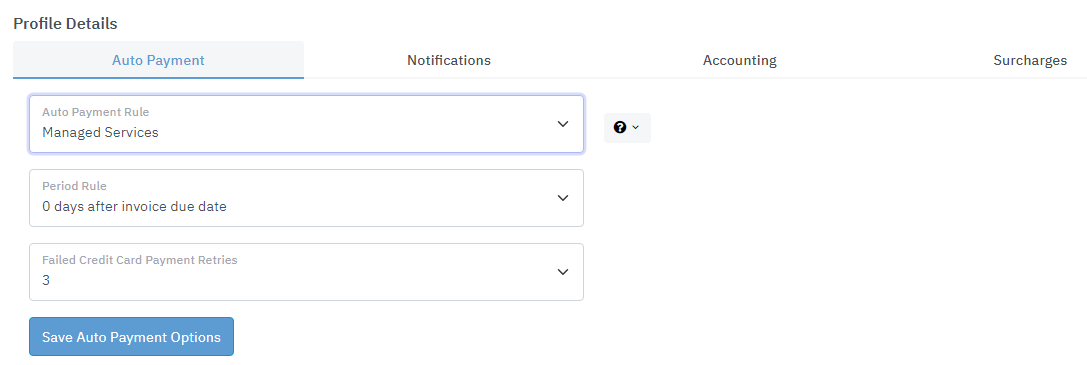
Period Rule = 0 (This means it will charge the card on the same day it is due)
Failed Credit Card Payment retries = 3 (This means it will try up to 3 times to bill the customers card)
Select the Notifications Tab and confirm your email templates by selecting and clicking the blue Save Changes button.

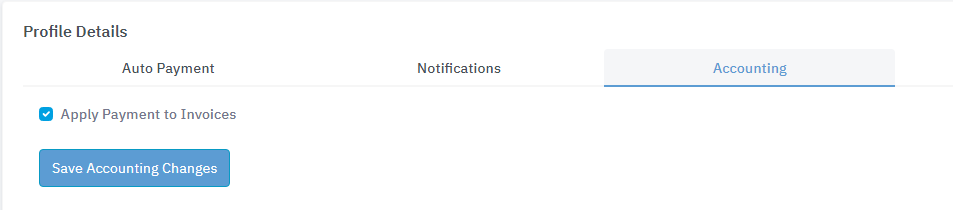
Select the Accounting Tab and make sure the Apply Payment to Invoices check box is ticked. Click the blue Save Accounting Changes button when finished.
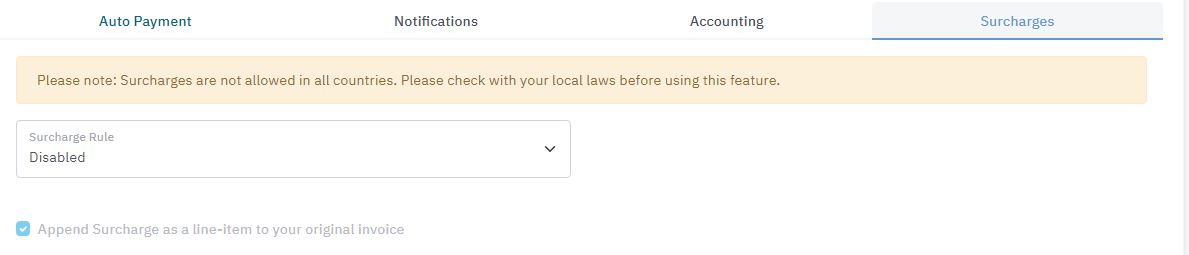
Optionally, you can select the Surcharges Tab to apply surcharges to your automatic payment rule.
5. Update the Customers Payment Profile
Finally, using the left-hand menu, click on Customers under the Recurring Payments item. Select the customer you wish to apply this profile to by clicking on their name and choosing "View Customer Details".
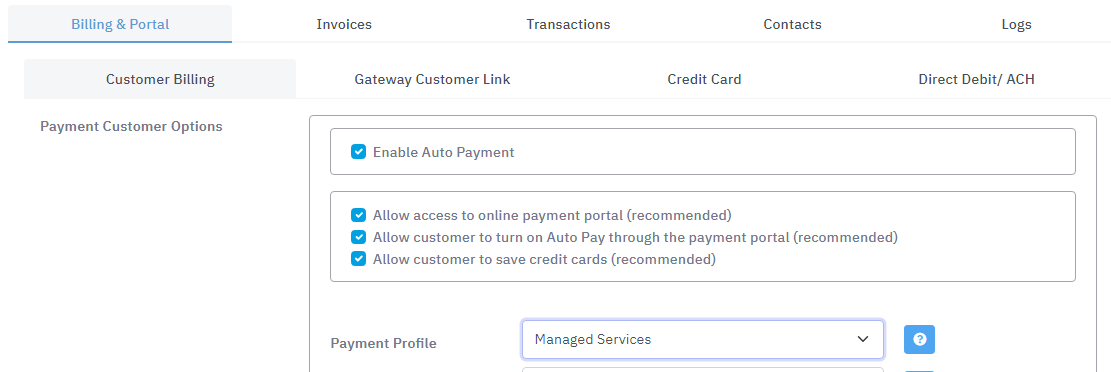
- Make sure Enable Auto Payment is ticked
- Choose the Payment Profile: Managed Services
Make sure you click the blue Save Changes button when you're finished.
If you have any other special situations that you may need help with in setting up payment profiles, please don't hesitate to send us a support request in the left hand menu under Support Options.