Credit Card Surcharging – Setup Walk Through
The article below is a walk through on setting up surcharges within Cloud Depot RPS.
1. Create an account code for the surcharge in Xero
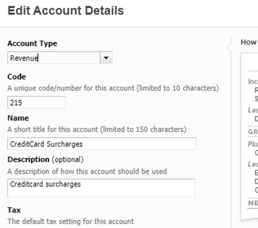
Before we begin, we recommend setting up an account code in Xero, for your credit card surcharges, if you haven’t already.
2. Log into Cloud Depot RPS and resync your data
Please see this article for further information on how to resync your account codes
3. Setup your accepted cards
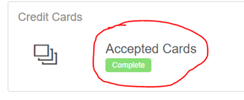
Recurring Payment - > Setup -> Accepted Cards
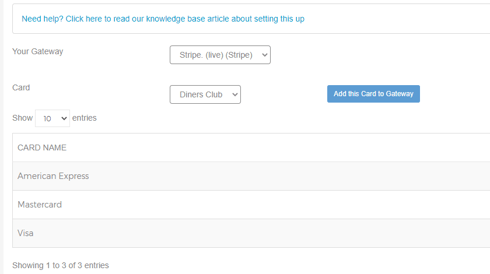
For each card brand that you support, please add them to our list of supported cards.
4. Setup the surcharge amount
Recurring Payment - > Setup -> Surcharges
The surcharge is a percentage of your total bill (pre-surcharge). In this example we will edit the standard surcharge

Select the standard surcharge
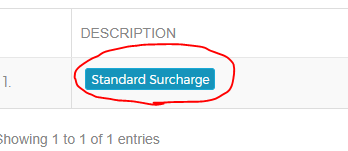
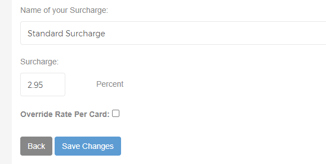
Now change the value to be whatever value you need to claim back your fees, in our example it is 2.95%.
You can also setup different rates per card that is done by selecting override rate per card.
5. Setup the Surcharge on the payment rule
Recurring Payment - > Setup -> Payment Rules
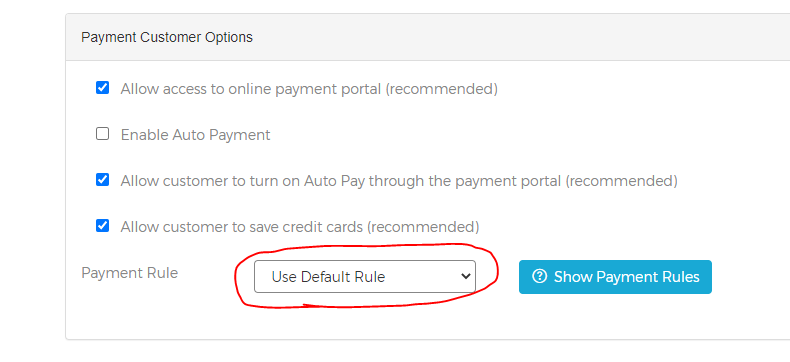
Each of your customers will have a payment rule attached to their account, you can either create a new payment rule for your surcharging and attach that to your customers that you wish to surcharge or you can edit the default account which will apply to all customers with the default attached.
In this example we will edit the default

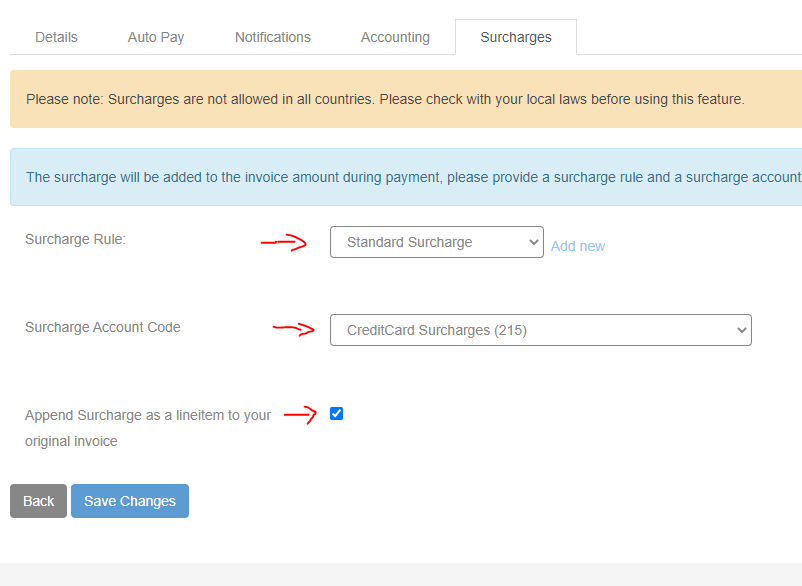
Now, select the Surcharges Tab

Surcharge Rule: That is the option setup in item 4 of this guide.
Surcharge Account code: That is the Xero account code you setup in the beginning of this guide.
Append Surcharge as lineitem: This will add a line item to your Xero invoice with the surcharge amount, post a successful payment. Our tool will also add a copy of the original as an attachment to the invoice in Xero.
Example from Xero of a surcharge lineitem

You are all setup, if you created a new payment rule, you can attach that to your customer now (see below).
Customers -> [Customer] -> Billing and Portal tab -> Portal Tab

