You can access the Email Notifications by clicking on Recurring Payment in the left hand menu, and clicking the Setup link.
Email Notifications are set under the Email & Branding heading. They will be set to green as active, as Cloud Depot automatically populates your account with some default emails to get you started.
Click on the green link to access the notifications.

There are two areas: Templates and Email Layout. The email dashboard looks as follows:
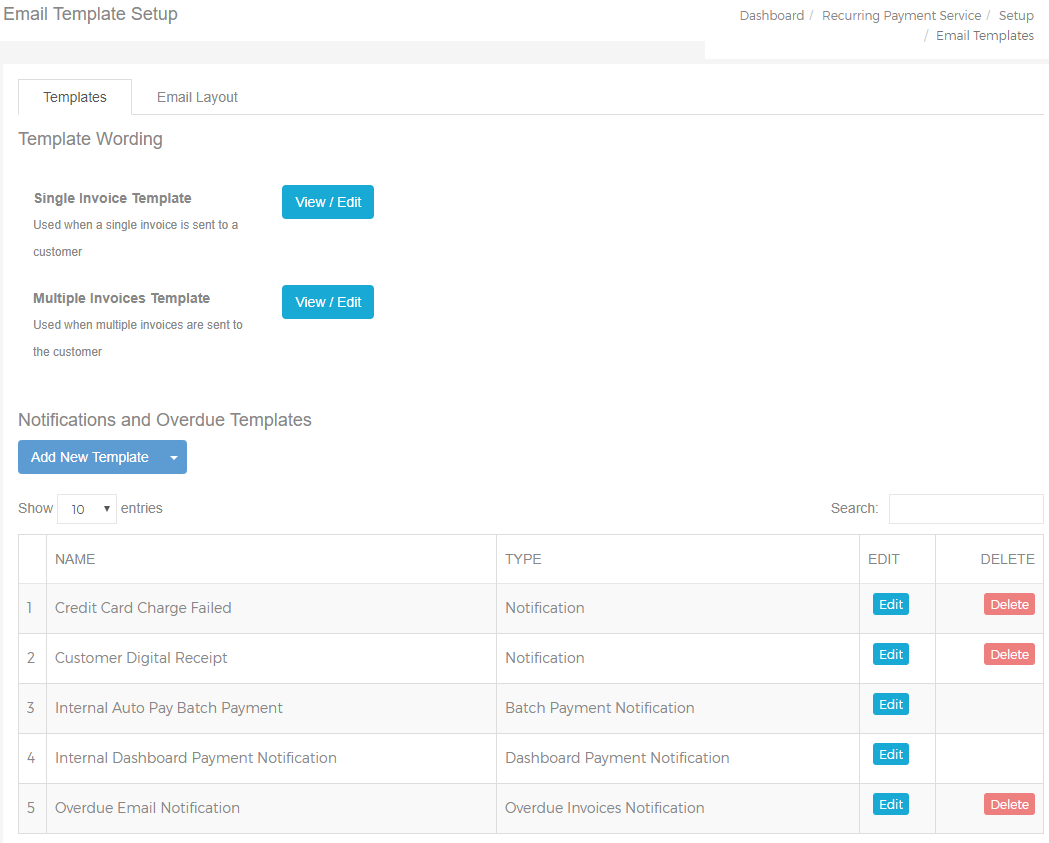
Templates:
The Single Invoice Template is used when a single invoice is sent to the customer. You can click on the blue View/Edit button to review the wording of the template. You can personalise this email if you wish.
If you require the email sent as a copy to your accounts team or to yourself, enter the required email address into the BCC field.
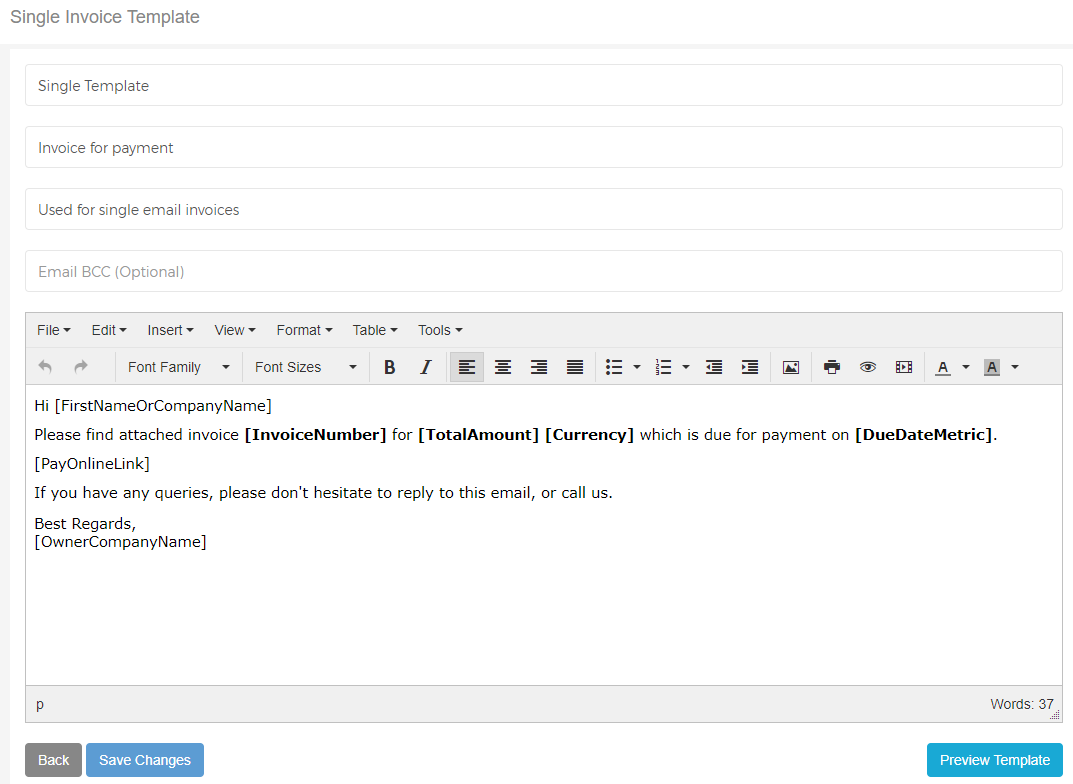
Click the blue Save Changes button to save any alterations or the BCC email address. Click on the blue Preview Template button to view how the email will look when it is sent. You will notice that it contains the company logo.
The Multiple Invoices Template works in exactly the same way, except that when it is sent, instead of a single invoice listed, there will be multiple in a table.
List of Templates:
By default, Cloud Depot includes the following templates for you:
- Credit Card Charge Failed
- Customer Digital Receipt
- Internal Auto Pay Batch Payment
- Internal Dashboard Payment Notification
- Overdue Email Notification
You may review and edit the wording of all of these. However, you cannot delete the two internal email notifications. You are able to add a BCC to each of these notifications.
New Template:
You can create a new template by clicking on the arrow beside the blue Add New Template button under the Notifications and Overdue Templates header.
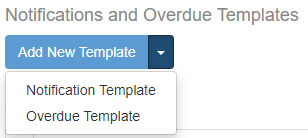
We accept two types: Notifications (emails regarding invoices or payments to clients), and Overdue (emails regarding overdue invoices to clients).
The mandatory fields are Template Name and Email Subject, and of course the template body.
Tip: If you wish to enter in merge fields, here is a handy list for you:
[FirstNameOrCompanyName]
[PayOnlineLink]
[TableOfInvoices]
[OwnerCompanyName]
[CustomerName]
Payment fields:
[TransactionDate]
[TransactionAmount]
[TransactionId]
[GatewayId]
Email Layout:
Clicking on the Email Layout tab will allow you to customise the look and feel of your email template. This is especially useful if you have a custom footer that your company requires attached to each email, or more details in the header area.

Note: Unticking the Enable HTML Template drops the HTML branding and just uses a plain text template.
You can use the WYSIWYG editor to change formatting or enter in information such as images, links and text.
To view the source code, click on Tools/Source Code.
Caution: We recommend not removing the logo link and %companyname% merge field from the header, or the %body% merge field from the main text area, or the %companydetails% from the footer.
To Save your changes, click the blue Save Changes button. You can also preview your template by clicking on the blue Preview Template button, or if you wish to start again from scratch, click the grey Reload Default Template button.