Tip: We recommend you schedule in a free setup introduction with our product manager before you start this process.
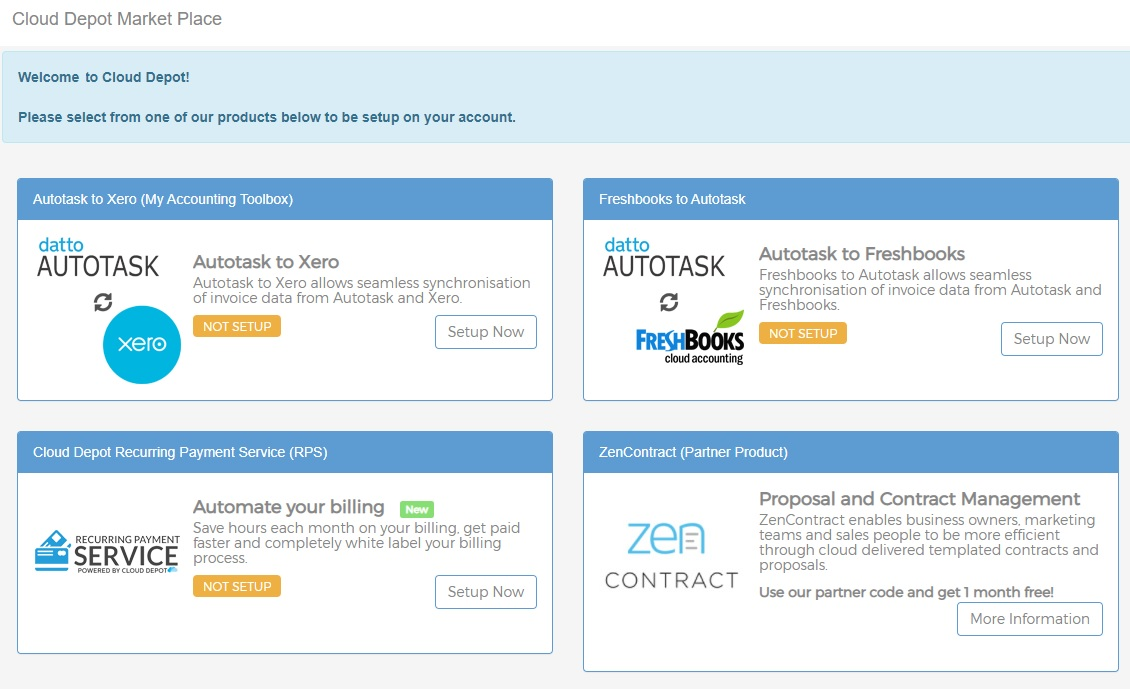
After you create your Cloud Depot account, you will be taken to the dashboard, where you can connect with any of our apps.
Click on the Setup Now button on the Cloud Depot Recurring Payment Service (RPS) app to start your set up.
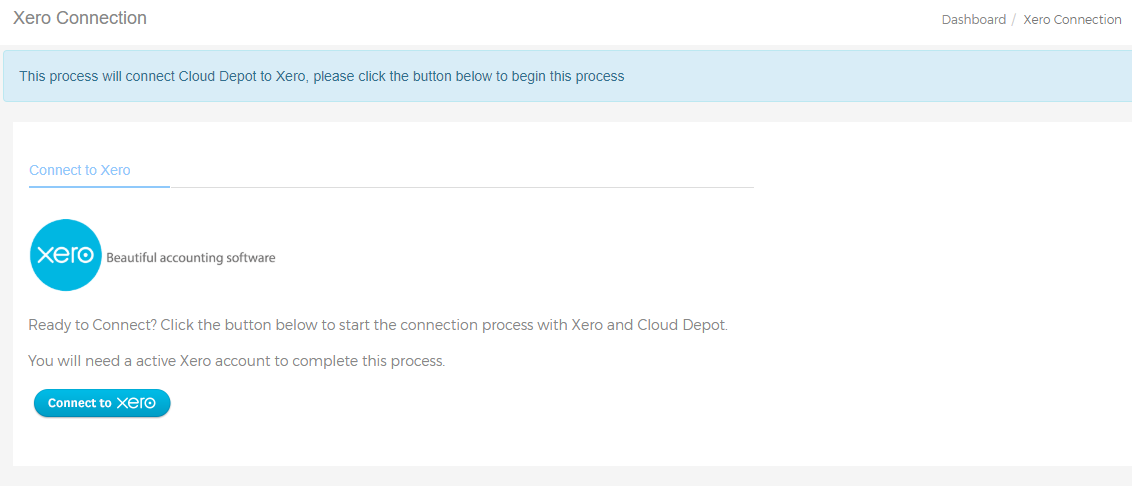
You will be taken to the Setup page. If you are ready and have talked to our Product Manager about RPS, click the blue Setup Now button.

You will be taken to the Xero setup screen. Make sure you have your credentials for Xero all ready and set up.
You will be prompted to log into Xero. Choose the account you wish to connect RPS to, and click Allow Access.
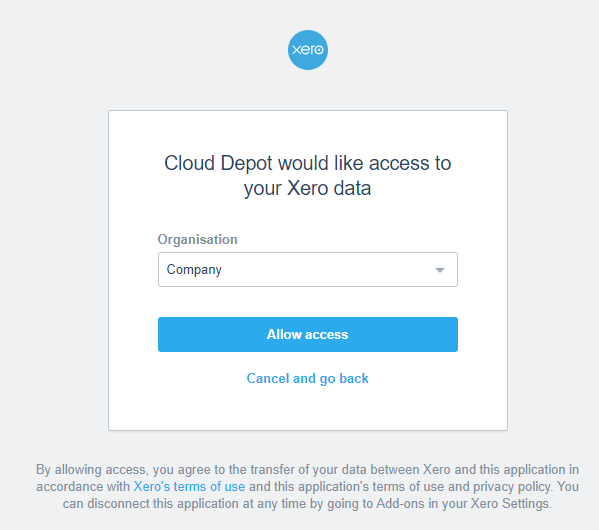
Once this is complete, you will be returned to RPS and Cloud Depot. Click the blue Continue Setup button to continue with your setup.

You will be prompted to choose a pricing plan for your Cloud Depot account. Choose which one suits your business model, and click Save Changes.
Your final step will be choosing your Accounting Setup. This will be where you can select where your accounts come from (Xero) and how many days of historical data you can sync. We recommend choosing 60 days of historical data. You can choose up to 90 days.
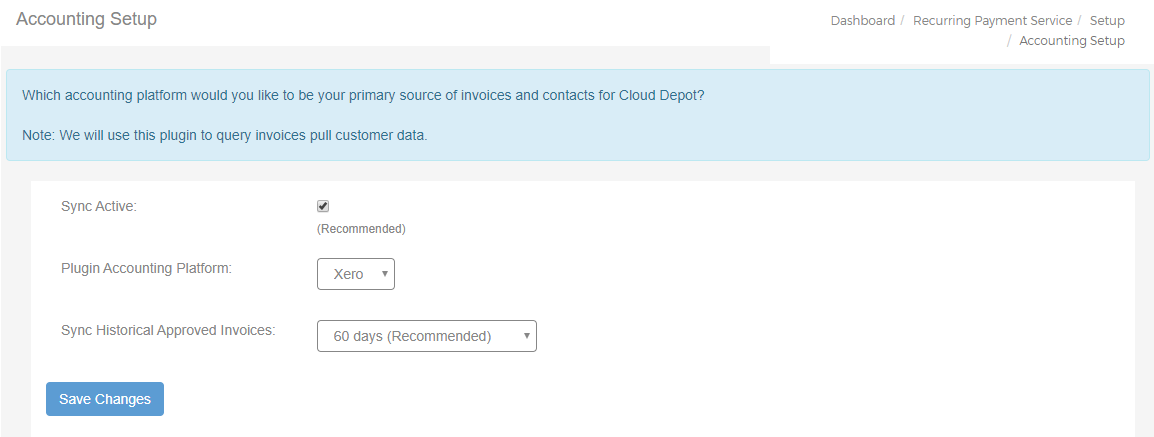
Click the blue Save Changes button when you are ready. You will see a pop-up asking if you are ready to sync your data from Xero to Cloud Depot.
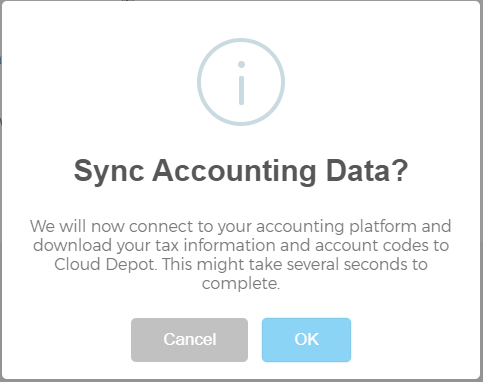
Click OK if you are ready. Bear in mind that it may take a little time to pull your data from Xero down into your Cloud Depot account.
Once this has finalised, you will be taken to the Congratulations page, along with a prompt to let you know that there are a few more configuration items, which your onboarding manager will be able to help you with.
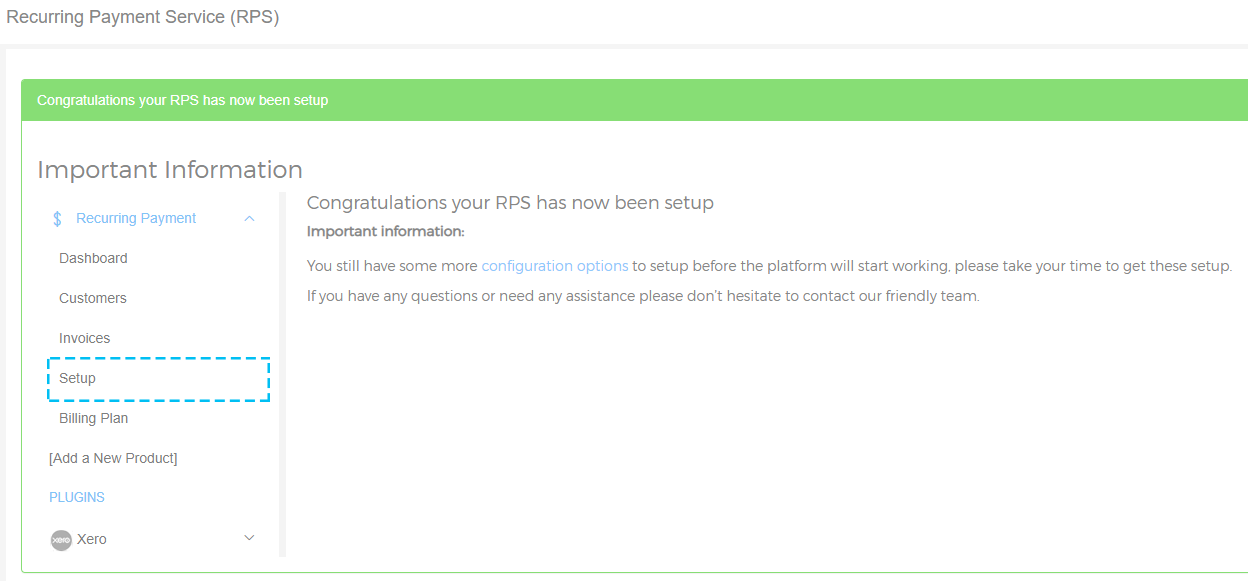
If you click on the link Configuration Items, you will be taken to the Setup area where you can complete your configuration of RPS.