Configuring your RPS plugin
How to finish setting up your RPS plugin and going through the final stages of configuration.
After completing your initial setup of RPS, there are a few more items to set up to get RPS working smoothly on your account.
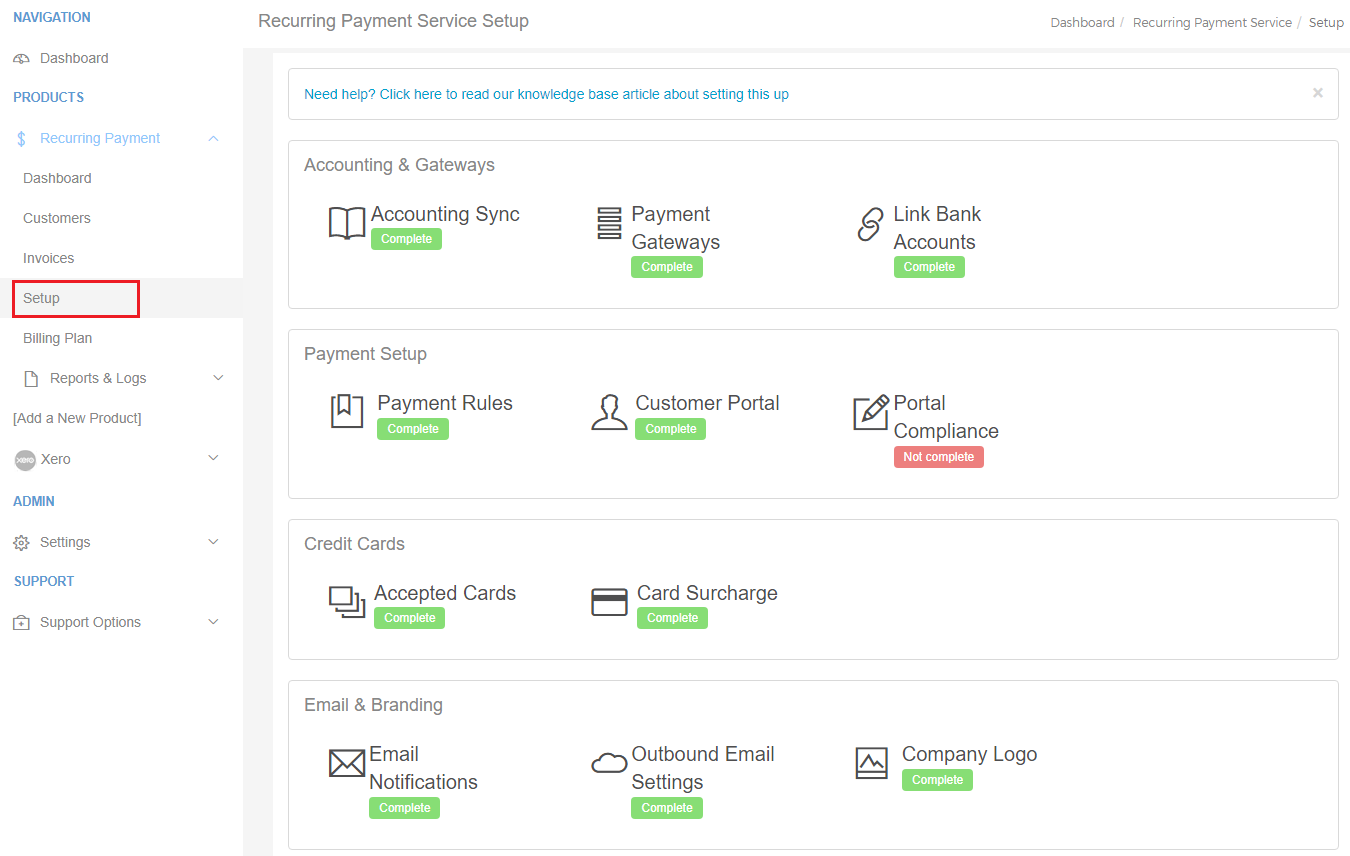
You can click on the Configuration Items link on your setup page, or get to it by clicking on the Setup link on the left-hand menu under the Recurring Payment heading (highlighted in the red square below).

Tip: Some of these items may require help from our team, or may have already been covered by your onboarding manager.
Clicking on the Red or Green link under each item will take you to the area that needs to be completed.
Note: Some items will need to be completed before others can be edited, for example: Link Bank Accounts cannot be completed until Credit Card Gateways is synced.
The order these should be completed in is as follows:
- Company Logo
- Outbound Email Settings
- Email Notifications
- Credit Card Gateways
- Accepted Credit Cards
- Card Surcharge
- Link Bank Accounts
- Payment Rules
- Customer Portal
As above, these may have already been configured by your onboarding manager, but if you have any questions please do not hesitate to contact Support.